Sunday, 1 March 2015

AO3- Task 1- Inspiration (Photos I'd like to get similar images to)


Inspiration for my Images 

These images are images I found while looking online and are images that I decided I liked the look of, these are images I would like to create similar photos to. 

The strong use of leading lines in the images above creates a strong feel to the images, it is an effect and technique that I am going to use when taking my own images. The use of the leading lines on either side of the image side you a center point which appears to be the focus, it also frames the images.


I will also, like all of the images above, use the lighting and time of day to create a different mood to the images I take. For example this image is quite foggy which makes it appear quite eerie. 


When it comes to the editing, these are images that I may try to create a similar style to, I like the use of bright colours to show the beauty of nature. 


The images above have all been captured in a way to produce pictures that make the water look surreal, almost like it is fake, this enhance the beauty of nature making it seem quite magical.


I like these two images because the simplicity of them helps portray how beautiful nature is and how real it is, compared to the man made buildings etc. 


AO2- Filters best for Landscape Photography and why


AO2- Filters that are best for Landscape Photography


Gradient Filter:

Gradient filters are filters that are used to balance out the exposure, especially in landscape. This is because within landscape photography the photographers would need to balance out the bright and light sky compared the more darker land. So to do this they would use a gradient filter, this is just a filter that has a darker top section which fades to a see through bottom part. The darker top section is for the camera to correctly expose the image without having an over exposed sky. 
There are two main types of this filter, these are soft and hard edge gradient filters. They are both extremely useful, however tend to be used for slightly different things. For example the hard edge filter would be better suited for when the sky hits an horizon in an image, and the sharp contrast from the bright sky to dark land would mean that a hard more noticeable gradient filter would be necessary. Where as the soft edge filter would be better suited for when there isn't a specific abrupt contrast in colours, for example the mountain to sky would be a less of a contrast because of the shape of the mountains and the lightness of the colour of the mountains.


Neutral Density Filter:

A neutral density filter is a filter that is used to reduce the amount of the light coming into an image, it does this without effecting the colours of the image.  These tend to be a clear or grey filter. This type of filter allows the photographer to focus on the aperture, shutter speed or ISO of the image without having to worry about it becoming overexposed. 

This type of filter is often used when a photographer wants to capture the motion blur, this is because the filter allows the photographer to have a long shutter speed without having too much light being let into the lens throughout the capturing of the image. 


Gradient Neutral Density Filter:
Gradient filters are filters that are used to balance out the exposure, especially in landscape. This is because within landscape photography the photographers would need to balance out the bright and light sky compared the more darker land. So to do this they would use a gradient filter, this is just a filter that has a darker top section which fades to a see through bottom part. 
Where as a neutral density filter is a filter that is used to reduce the amount of the light coming into an image, it does this without effecting the colours of the image.

So a gradient neutral filter would be a combination of the two filters above. So it would be a filter that wouldn't effect the colours of the image, however it would help make the sky or top of the image be correctly exposed. It also means that this type of filter allows the photographer to capture motion blur and not have to worry about overexposure of the sky or any other parts of the image.


AO2- Photoshop Task (Spot Healing Brush)


AO2- Photoshop Tasks

During this editing workshop I used Adobe Photoshop CS5.1 software while using JPEG images to edit throughout. 


How to remove spots/blemishes/acne: 


Within Photoshop we can  use tools to remove spots/acne or any blemishes people have. We can also edit out wrinkles or marks. 

To do this we have to firstly have a image saved and ready to edited. We then have to add the image and duplicate the background, after hiding the background layer we start by editing the new duplicated layer.

We then select the 'spot healing brush' from the tool bar on the left of the Photoshop screen. After selecting the tool we can view the size of the brush we want to use or if we want the spot healing brush to be on a normal setting or if we think we may prefer a lighter or darker setting. 

Using the brush tool we then go around the face and remove any spots or blemishes we like. For this part of the editing it would be easier if you zoomed in, this is so you can see the blemishes better and make sure the tool is doing what it is intended. 

After going around the subjects face with the brush tool, her face has been reduced with the number of spots and red patches. I also used the brush tool on the lighter setting to try and remove any of the red areas. 

AO2- Photoshop task (lasso tool/layering/shape)


AO2- Photoshop Tasks

During this editing workshop I used Adobe Photoshop CS5.1 software while using JPEG images to edit throughout. 


How to use the lasso tool as well as layering and shape within Photoshop:


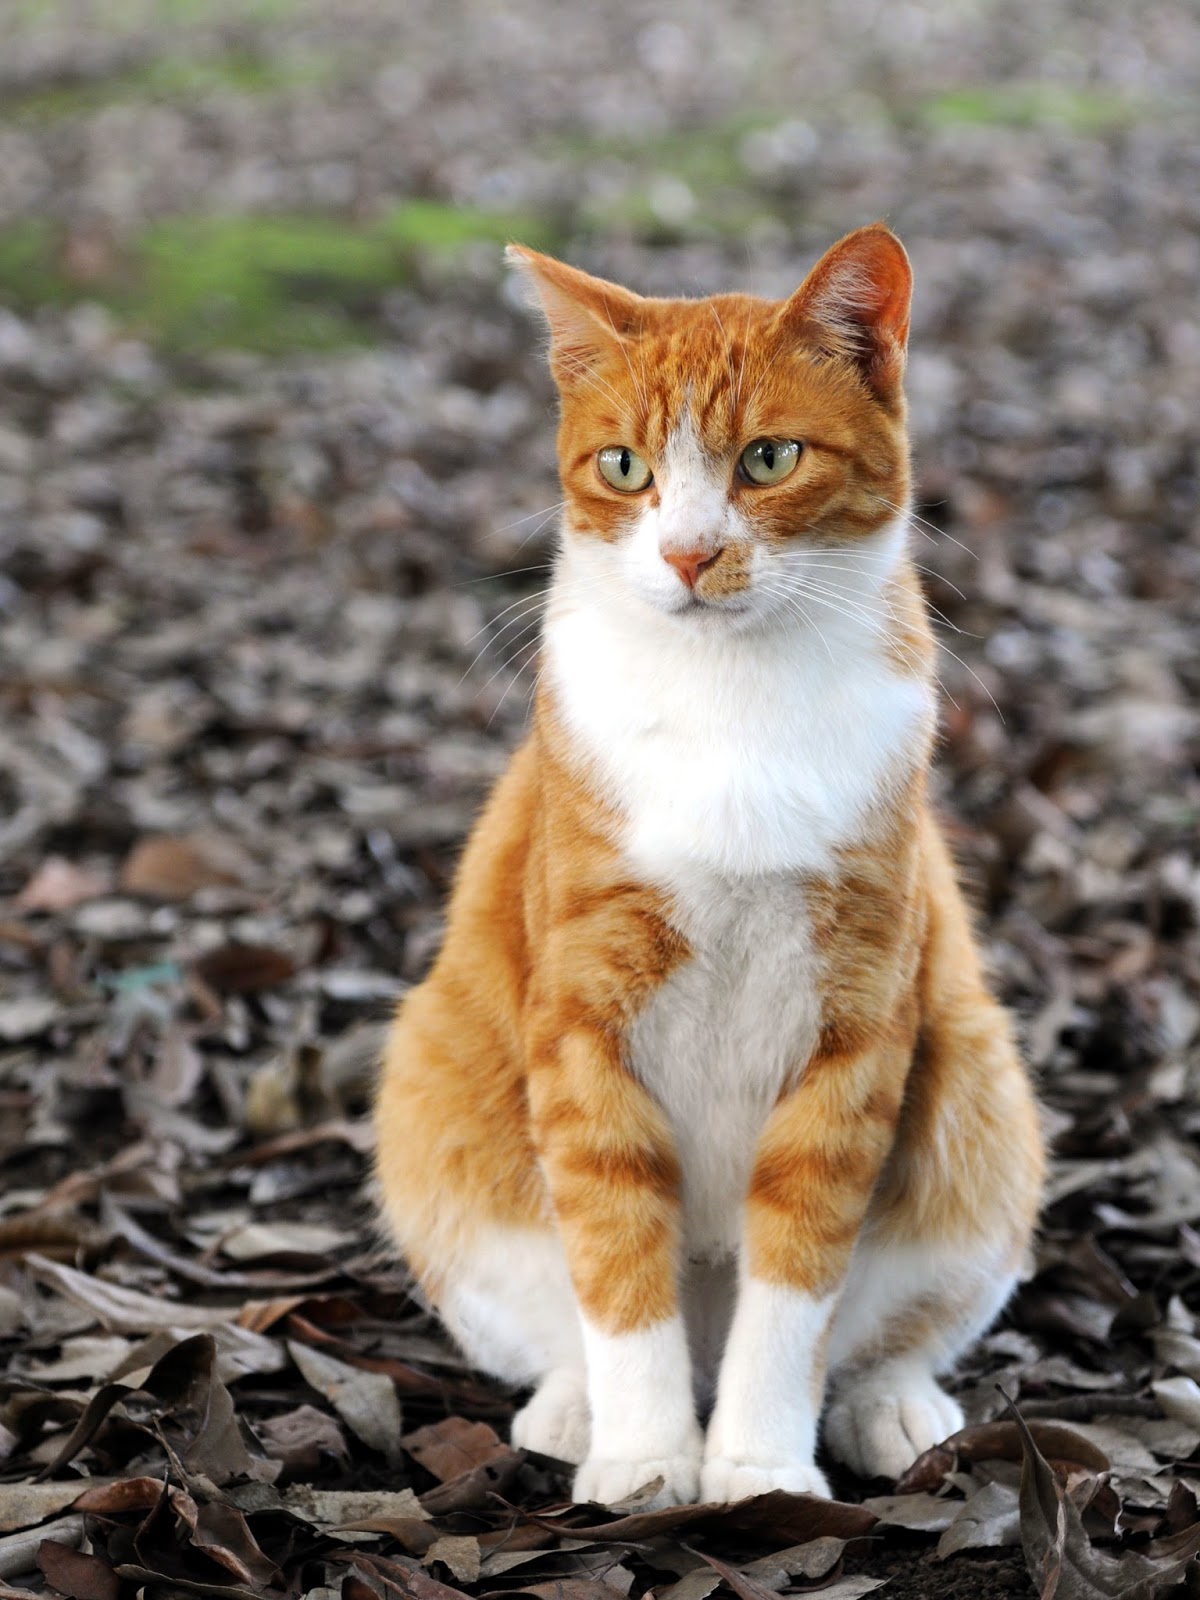
For this I decided to use the lasso tool to get this sitting cat to sit on a street sign. 


First off I had to select the lasso tool, for this particular image I found it easiest to use the magnetic lasso tool. After highlighting the whole cat, which took some add and removing areas until acceptable, I then copied the cat.  
 After copying the separate cat image, I then opened the street sign image I wanted the cat to be in and pasted the cat onto the image. To do this I used Ctrl C to copy and Ctrl V to paste the cat. 
After pasting the cat into this image I had to ensure it was sat in the middle of the street sign, I also made sure that it was on the sign properly. 

When I originally pasted the cat into the image is was way too large to use, so after selecting the cat using Ctrl T, I then linked the sides of the image and re-scaled it until it was a more suitable size for the image I was creating.

After editing the new layer with the cat onto the image with the street sign, this is the final image I achieved.

AO2- Photoshop Task (Cropping an image)


AO2- Photoshop Tasks

During this editing workshop I used Adobe Photoshop CS5.1 software while using JPEG images to edit throughout. 

Here are some ways to crop an image: 

Rotation Crop
The first crop type I did was to crop the image, but rotate it, this then meant the image would be straight when I crop it. To do this I have to highlight the area I wanted it to be cropped to, I then hovered my mouse over one of the corners and it then gives you the option to rotate the side. 
This was the final image after the rotation cropping, the flower has no background and is rotated to look straight on instead of having a slight tilt to the flower.


Hidden Crop
This is a type of cropping where the edit done is not final. To do this crop you highlight the area you want to crop the image size to. After doing this you then select the 'hide' section up the top of the page, this then hides the area that is not selected.  


Crop Size Templates 
This section is when you click the crop option and then go to the top corner that has the crop tool again but with a down select arrow, you then click this arrow and this shows you some size selections for cropping. This allows you to crop the image to a specific size you need. 


Perspective Crop
This cropping type is when you select the crop tool and then click the perspective option along the top. This perspective option allows you to draw the sides of the cropping box to fit with the shape you need to. This is particularly useful when cropping images with buildings as you can keep the crop at the end of buildings even if they aren't straight. 
 You then create a box with the crop tool, including the side that isn't straight and Photoshop produces an image which is even and not angled in any way. 
This is the final image after this type of cropping. As you can see I missed a slight edge, on the left, of a building. However you can go back and crop it closer to remove that edge. Photoshop has distorted the image to ensure it is a straight and even rectangle. 


AO2- Photoshop Task (How to add texture to a flat image)


AO2- Photoshop Tasks

During this editing workshop I used Adobe Photoshop CS5.1 software while using JPEG images to edit throughout. 

How to add texture to a flat image:


First you have to find and save a plain image, could be just colour or could have an object in the picture. After finding a suitable image for this task you then open the image up in Photoshop, this will create the image as the background layer. 


Once you have the background layer, you will then need to go to 'layer' and add a new one for the textured image to be inserted onto. 

Following this you will then need to place the image onto the new layer you have created, you can do this by going onto 'file' and 'place' then selecting your chosen image. 

You will then need to scale the image to fit the whole layer, this is because the layer is the same size as the background image so will allow it to match in size. 

Once you have placed and re-sized the image you are using for the texture, you then have to go to the layer settings on the side and change the layer type from 'normal' to 'overlay'. 

This then creates a final image which was originally a plain orange background and now is an image with some faded blurred effects in the image.